
Making a firearm using an 80 percent lower receiver is now an increasingly popular. And rewarding activity for many gun enthusiasts. This project allows builders to modify their firearms according to meet. Their specific requirements and gain a better understanding of the mechanics of firearms. However, making an 80percent lower and building a functional firearm requires precision machining and assembly which requires a keen eye on safety and the best techniques. This article will offer essential safety guidelines and the best practices to make sure your DIY firearms project is a success and secure.
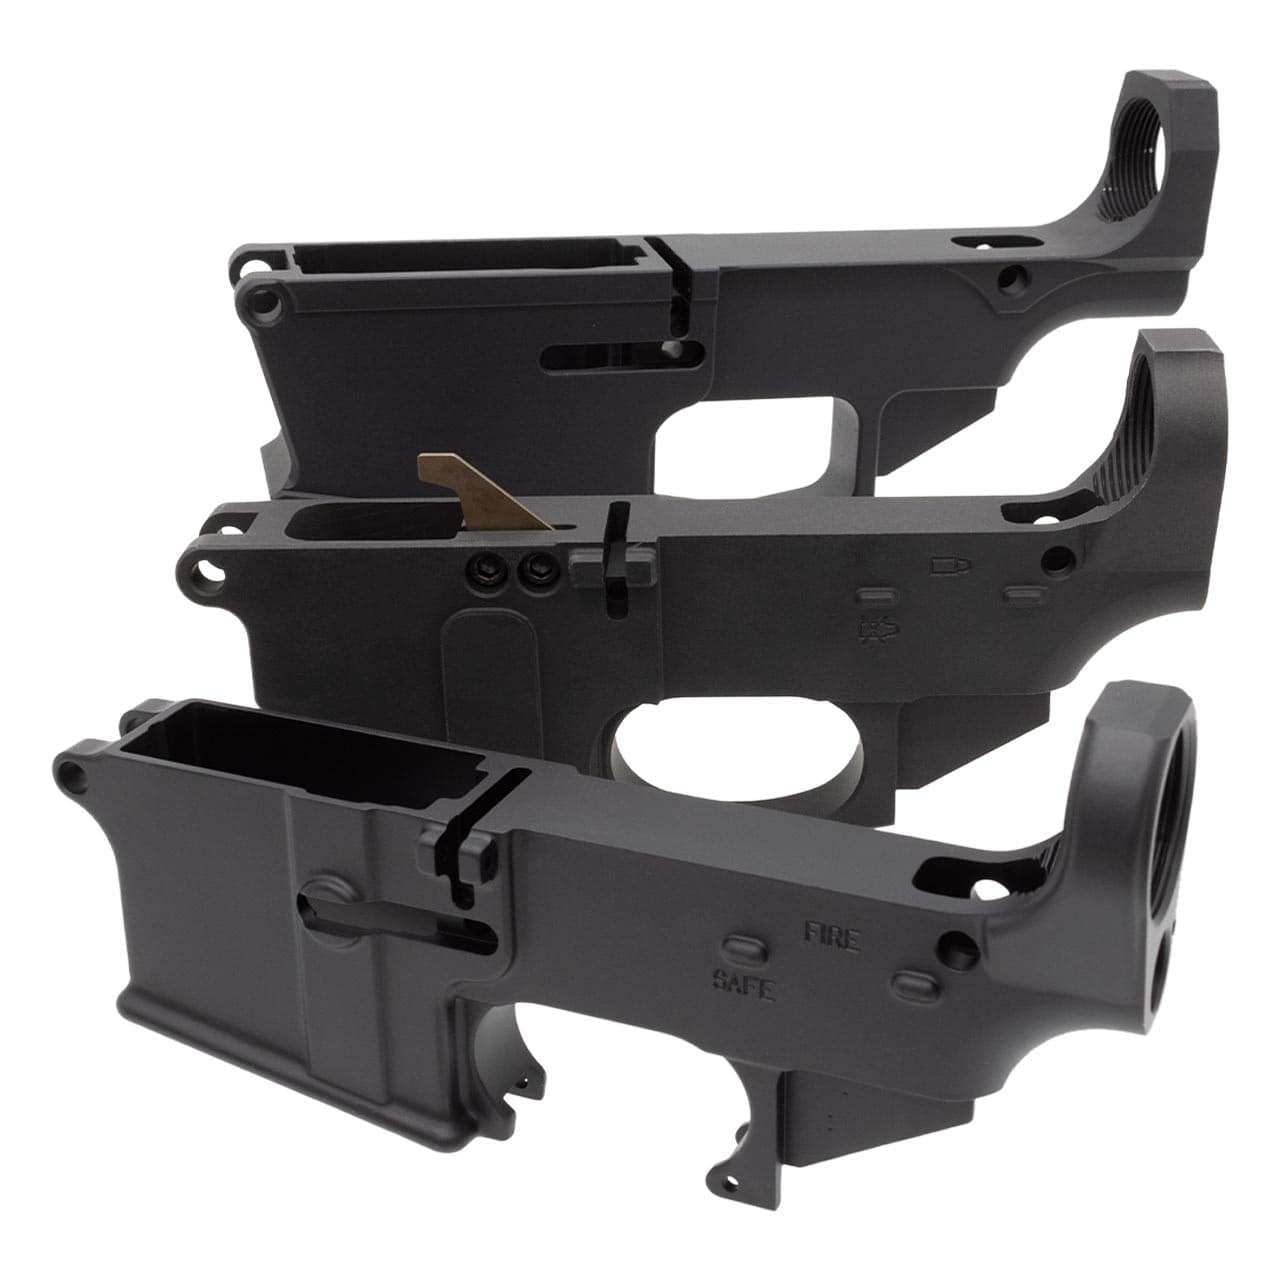
Understanding 80% Lowers
A minimum of 80% of customers are partially machined guns that need additional work before they are fully functional. Because firearms are not classified under federal law, purchasing less than 80 percent will not require a background check. Once the background check is complete, the buyer will be considered a gun owner and must comply with all applicable laws.
Legal Concerns
Before starting your project it’s important to be aware of the legal framework surrounding the 80% lowers as well as DIY firearms:
- Federal Law: Under federal law, carrying out an 80% lower to use for personal use is a legal. Selling or transfer of the firearm that has been completed may need serialization and conformity with ATF rules.
- State Laws: States’ laws can vary in a wide range. Some states require serialization as well as registration of guns made by hand While others may have additional limitations. Check out the laws of your state to make sure you’re in compliance.
- There is no intention to sell Achieving an lower of 80% should be used for personal purposes only. Making firearms with the intention to sell them without proper authorization could result in severe legal consequences.
Safety Tips and the Best Techniques
1. Proper Workspace Setup
Making sure you have a secure and organized workspace is the first step to creating a successful building:
- Clean and well-lit space Workspaces should be clear of clutter and well-lit. Lighting is essential to avoid mistakes or accidents while manufacturing and assembly process.
- Ventilation: Properly ventilating is vital, especially when working with polymer or metal dust that is generated by the machining. Utilize a dust collection system and work within a ventilated area to avoid inhalation hazards.
- A stable work surface: Choose an extremely solid and stable workstation to protect your tools and other materials. A solid surface decreases the chance of accidents and guarantees precision in machine work.
2. Make sure you use quality tools and jigs
Making investments in top-quality tools and jigs is vital to ensure safety and accuracy:
- Drill Press or Milling Machine Make sure you have an efficient milling machine or drill press to ensure precise milling and drilling. Handheld tools might not have the stability and precision needed.
- Good quality Jigs: A high-quality Jig is vital to help guide the machining process. Make sure your jig is compatible with your lower 80% and has clear instructions.
- Sharp Drill Bits and End Mills Tools that are dull can result in accidents and in a poor machine work. Check and replace regularly ends mills. As well as drill bits to make sure theyre sharp and in good working order.
3. Personal Protective Equipment:
In addition. wearing the correct PPE (PPE) is essential for your safety:
- Safety Glasses Always wear safety glasses to shield your eyes from the glare of metal and polymer chips.
- Hearing Protection: The process of machining noises can be quite loud. Make sure you have ear protection in order to prevent damage to your hearing.
- Gloves Use gloves to shield the hands against sharp edges as well as hot surfaces. But, be careful not to wear gloves that are loose which could be stuck in machinery.
4. Follow the instructions carefully
The strict adherence to the instructions and guidelines assures the highest quality and safety
- manufacturer’s instructions: follow the directions given by the maker of your lower 80% and Jig. These directions are designed to help you navigate the process in a safe and accurate manner.
- Diagrams and Blueprints: Use diagrams and blueprints to grasp what dimensions you need and the specifications for your lower 80. Accurate measurements are essential to avoid a mistake.
5. Secure the lower receiver
The proper securing of the lower receiver while the machining process prevents accidents and increases accuracy:
- Clamps and Vise Utilize a vise and clamps to hold your lower receiver securely in the correct position. The movement during machining can result in accidents and mistakes.
- Verify that you have the receiver lower properly aligned within the jig prior starting any milling or drilling. Uneven alignment could result in a poor cutting and may damage the lower.
6. Drilling and Milling
A careful approach to drilling and milling is vital to complete your 80% lower with accuracy:
- Pilot Holes: Begin in drilling pilot holes that will guide the larger drill bits as well as end mills. This helps to prevent the tools from slipping and also ensures precision.
- Slow and steady: Follow the slowest and most steady speed when drilling or milling. The process that is too fast can cause accidents and mistakes.
- Check Depth: Always verify how deep you are milling and drilling to ensure that you do not exceed the specifications required by law.
7. Finishing and Deburring
Following machining, deburring, and finishing are vital to an efficient and smooth firearm:
- Tool for Deburring: Utilize deburring equipment to get rid of cutting edges, or burrs that are left after cutting. This ensures a smoother process and minimizes the chance of injuries.
- Surface Finish: Think about applying an exterior finish to shield this lower component from wear and corrosion. ANODIZING or Cerakoting are both popular options on aluminum lowers.
Tests of Function and Assembly
After the lower receiver is complete after which the assembly and testing process starts:
1. Component Selection
Selecting components of high-quality ensures reliability and performance:
- Quality Parts: Pick reliable brands for components like that fire control group the buffer tube assembly and the stock. Quality components are essential to the longevity and reliability of your firearm.
- Compatibility: Make sure that all components are compatible with the completed lower receiver. Incompatible components can lead to problems with safety and malfunctions.
2. Proper Assembly
Make sure you follow the correct procedures for assembling your firearm:
- Clean components: Wipe the components before assembly to eliminate any contaminants or debris.
- Lubrication: Apply the appropriate oil to moving parts to ensure smooth operation & avoid wear.
- Specifications for Torque: Follow the torque specifications of bolts and screws to prevent over-tightening which could cause damage, or under which can result in loose parts.
3. Function Testing
Conducting function tests is essential to ensure that your firearm functions properly and safely:
- Dry-fire Test: Test the trigger and fire control group, but without live ammunition to confirm their operation.
- Safety Check: Ensure that the safety selector is working properly and stops the gun from firing when it is engaged.
- Range Test: Perform live-fire testing at a distance to ensure that the operation is reliable. Begin with a couple of rounds, and then increase it gradually until you test for any issues.
Storage and Maintenance
A proper storage and maintenance plan is crucial to the durability and security of your firearm that you make yourself:
1. Safe Storage
Securely store your firearm to ensure that it is not accessed by anyone else:
- Gun Safe A gun safe to protect your firearm when it is not being used. This will prevent unauthorised access to your firearm and also protects your firearm from harm.
- Locking Devices: You may want to consider adding additional locking devices, like trigger locks, cable locks for more security.
2. Regular Maintenance
Regular maintenance makes sure your firearm remains in a good working order:
- Cleaning Your firearm should be cleaned after every use to get rid of dirt and fouling. Follow the manufacturer’s recommendations regarding cleaning and Lubrication.
- Inspection: Check your firearm for indications that it is damaged or worn. Make any necessary repairs to avoid malfunctions.
- Replacement Parts Replace damaged or worn components as required. Maintaining spare parts readily available will help reduce the amount of downtime.
Responsible and ethical construction
The process of building a firearm carries an enormous responsibility. Building practices that are ethical and responsible are vital:
1. and Training and Training
The investment in education and training increases your abilities and knowledge:
- Gunsmithing Courses: You should consider taking gunsmithing classes to increase your knowledge and skills. the mechanics of firearms.
- Online Resources: Use online resources, including tutorials and forums to learn from the best builders and share your knowledge.
2. Safety First
Make sure you are always safe:
- Firearm Safety Rules: Stick to the four basic firearm safety guidelines and treat each firearm like it’s loaded never point a gun at something you don’t want to destroy, hold your trigger finger away from the trigger until you’re ready to shoot, and be aware that you know your target and the distance beyond it.
- Safety Handling: Always handle your firearm with care when at home, on the range, or even during transport.
3. Legal Compliance
Be sure to be in conformity with the law and regulations applicable to you:
- Be informed: Keep current with state, federal and local laws governing homemade firearms. Laws are subject to change, so being informed will help you stay legally compliant.
- Do not make unauthorized transfers Don’t sell or transfer your firearm that you made yourself without proper authorization and compliance with legal rules.
Conclusion
The process of building a firearm using 80percent lower weight is an enjoyable and instructive experience that allows people to make a unique and practical firearm. If you follow these safety guidelines and the best methods, you will be able to ensure an enjoyable and secure DIY project for your firearm. From establishing a suitable workspace and using high-quality tools, to following regulations and focusing on safety, every step is vital to the overall success of your project.
Remember that the responsibility of making a firearm isn’t limited to the conclusion of the task. Regular maintenance, secure storage and the use of ethical building practices are necessary to ensure that your firearm is solid and secure for many long into the future. No matter if you’re a beginner builder or a seasoned gunsmith an adherence to security, lawful building, and responsible construction can enhance your satisfaction and enjoyment building your own gun.
Read Now: Buzz Revolve